Steps 3 and 4
Step 3: Assemble the Interrupter Case
- A. Peel the protective paper off of the plastic parts.
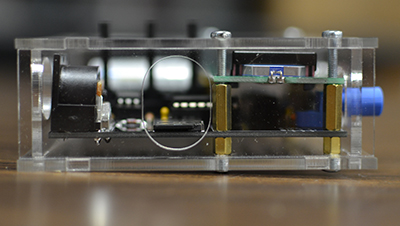
- B. Start by attaching the board to the bottom plate of the chassis. Use the short standoffs to space the board from the bottom plate. Use 6mm screws through the acrylic to hold the standoffs in place.
- C. Screw the tall standoffs to the top of the short ones.
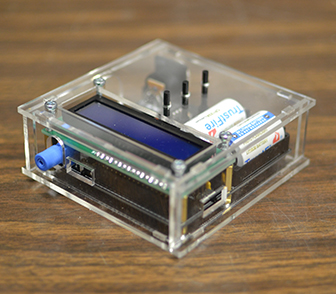
- D. Place the LCD screen into its socket.
- E. Assemble the sides of the case by inserting the tabs into the holes in the base plate.
- F. Install the top plate. Note that the buttons are slightly off-center, so if your top plate isn’t fitting quite right, flip it around.
- G. Use 13mm screws to hold the case together. Don’t over-tighten!
- H. Optionally, place the sticker with arrow icons next to the buttons.
 |
|
 |
Step 4: Varnish the secondary
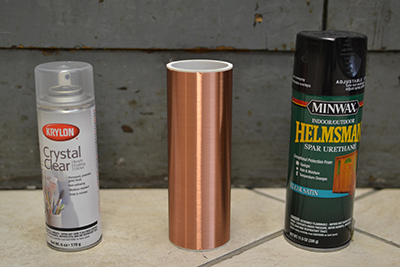
The secondary needs to be varnished before using your coil at any more than the lowest power setting. We recommend a few coats of spray-on or brush-on polyurethane. For best results, spin the coil slowly as it dries. Make sure you don’t accidentally varnish over the free wires on the ends of the secondary!
Tip: Use packing tape
Carefully applied packing tape without air bubbles underneath can help insulate your secondary. You can place it on top of some layers of varnish for extra durability. Be sure to fully smooth out the tape and remove the bubbles underneath! There’s a big difference between a good tape job and a bad one.


