Steps 11 and 12
Step 11: Assemble and Attach the Antenna
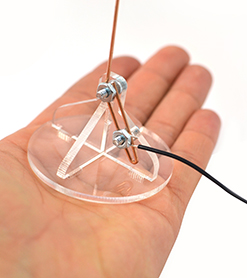
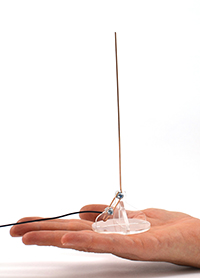
The antenna picks up the coil’s electric field and provides a feedback signal necessary for the Tesla coil’s control loop. The antenna is connected to the coil through the same header as the primary.
- A. Peel the protective paper off of the acrylic pieces that comprise the antenna base.
- B. Assemble the base of the antenna. The parts should press fit together, but you can use a little bit of glue if you want the base to be sturdier.
- C. Use two 10mm screws and nuts to fasten the antenna brass rod to the base. Strip the free end of the antenna wire and wrap it around one of the screws. Tighten the nut firmly to hold the rod and wire in place.
- D. Connect the long middle wire of the primary connector to the antenna’s brass rod in one of two ways: either solder it directly to the brass rod, or clamp it between the rod and a nut. Check with a multimeter to ensure continuity between the wire and the brass rod.
 |
 |
Step 12: Solder the Ring Terminals
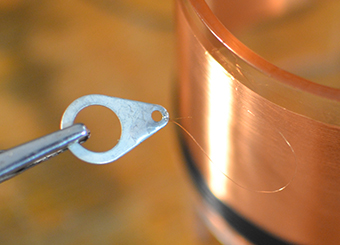
- A. Solder a large ring terminal to the loose wire at the top of the secondary (see picture below). Burn away the enamel using a flame from a lighter, or use some finegrit sandpaper. You may even be able to use the heat of your soldering iron to burn through it. Be careful handling the delicate, hair-thin wire of the secondary! Use a multimeter to verify that you have around 450Ω across the secondary. Any more resistance indicates a poor connection that you need to re-solder.

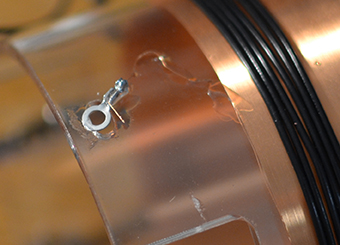
- B. Glue the small ring terminal over the nearest slot at the base of the secondary (see picture below). Later on, you will place a screw through the terminal to fasten it to an angle bracket on the heat sink, in order to ground your secondary.


