Steps 4 and 5
Step 4: Varnish the Secondary
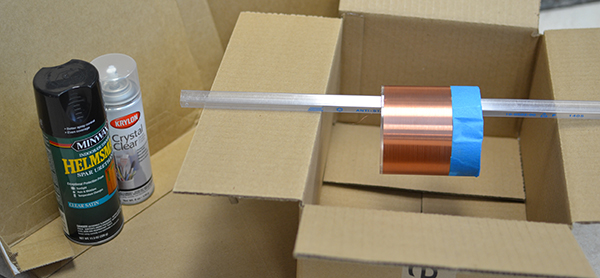
Your secondary coil needs a few thick insulating layers to keep it safe. A polyurethane paint-on or spray-on varnish works great. Coat your coil in at least five layers of varnish. It’s better to start this process early to allow enough time for the varnish to dry (typically one night per coat). Don’t skip this step! An unvarnished secondary will arc over immediately, even at low power.
If you want a quick way to increase your insulating layer thickness, add some packing tape to your coil. Be very careful to remove all the air bubbles under the tape! To increase the effectiveness of the tape, cut the edge at a steep angle. The seam of the tape is the most likely place to have arcing, and cutting at a shallow angle increases the seam length, increasing the distance the sparks have to jump.

Step 5: Install hardware on the heat sink
We will take a brief interlude from soldering to attach some hardware on the heat sink. Since the IGBTs are mounted on the underside of the board, once we install them we can’t easily remove the circuit board to get access to the heat sink.
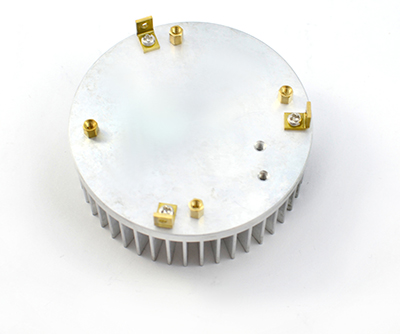
- A. Install four 6mm standoffs into the holes near the edge of the heat sink.
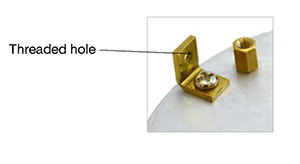
- B. Fasten the right-angle brackets to the heat sink using a 6mm M3 screw through the unthreaded hole in the bracket. The threaded holes should be on the side perpendicular to the surface of the heat sink!
 |
 |
Need a diagram?
Go to Appendix B.

